3 FOOLPROOF
HALLOWEEN MANICURES
Whether you're a manicure minimalist or a nail art aficionado, you have to admit: There's no better time than Halloween to be a little daring.
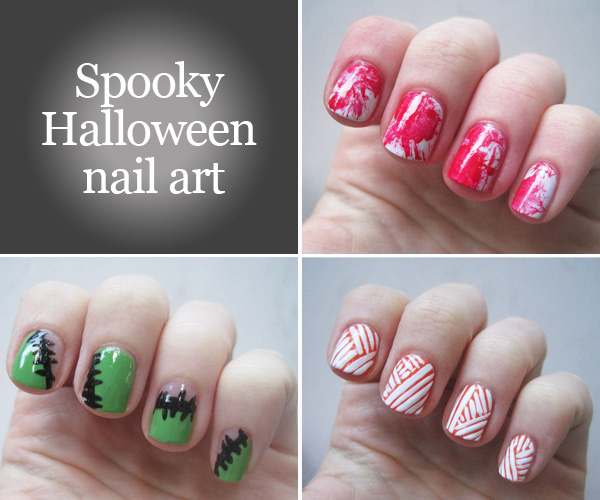
Nail art inspiration is everywhere this season — from the candy corn on drugstore shelves to the pumpkins sitting on neighborhood stoops. Here are three simple nail art designs to kick your look up a notch and get you in the Halloween spirit.
Blood splatters
Step 1: Paint base
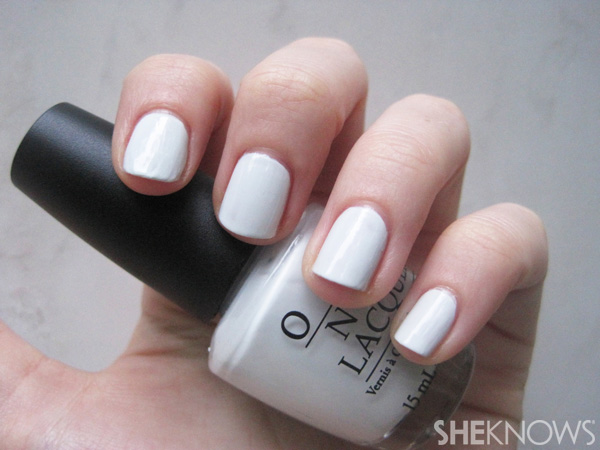
Begin by painting nails with a neutral base color like white or tan.
Step 2: Prepare "blood"
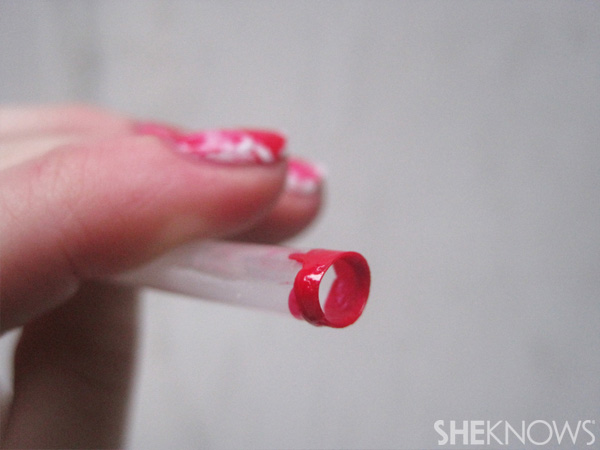
Dab a few drops of blood-red polish onto a paper plate or a piece of newspaper. Dip the end of an ordinary straw into the red polish, picking up a ring of color on the tip of the straw.
Step 3: Splatter nail
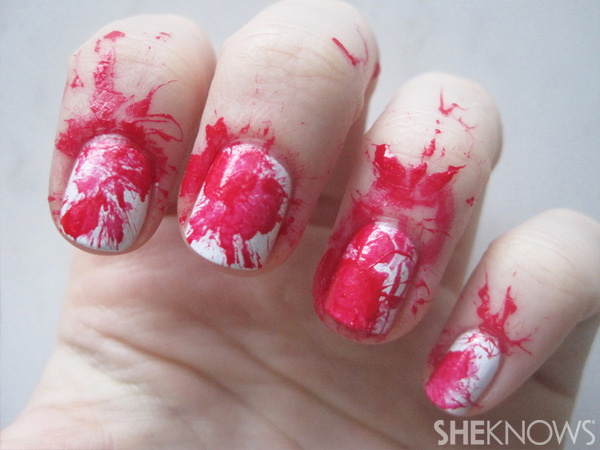
Position the straw one-half inch over one nail and blow a strong puff of air into the other end. The red polish will splatter across the nail. Continue splattering each nail, adding more polish to the straw as you go.
Step 4: Clean up skin
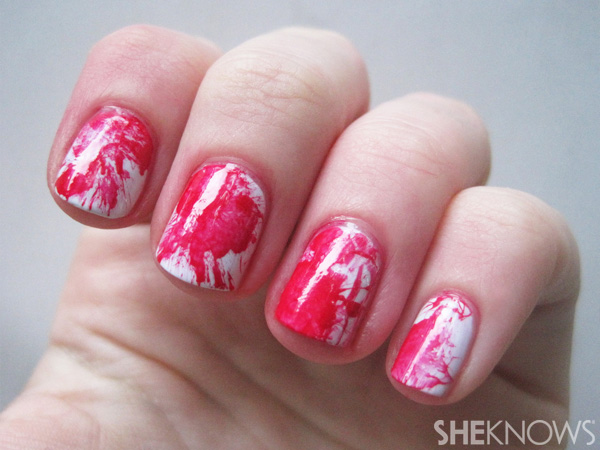
At this point, you'll have plenty of splatters outside the lines. Dip a cotton ball in nail polish remover to clean up large areas of splattered skin, and use a small makeup brush or Q-tip for the detailed work around your nails and cuticles. Finish with a glossy top coat for shine and protection!
Frankenstein fingers
Step 1: Paint portion of nails green
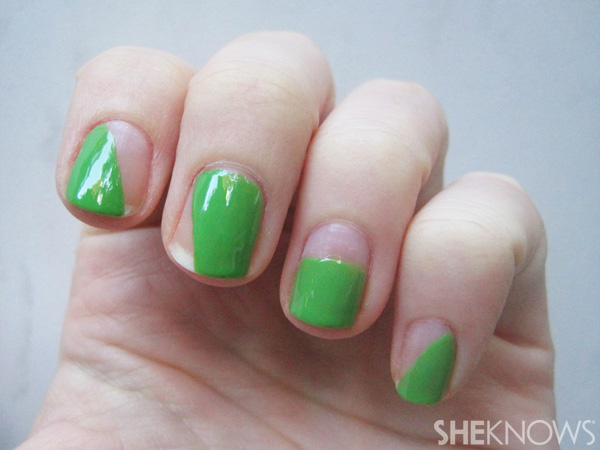
Begin by painting a portion of each nail with bright green polish. Create variation by painting diagonal sections on a few nails, just the tip on others, etc.
Step 2: Paint tips black
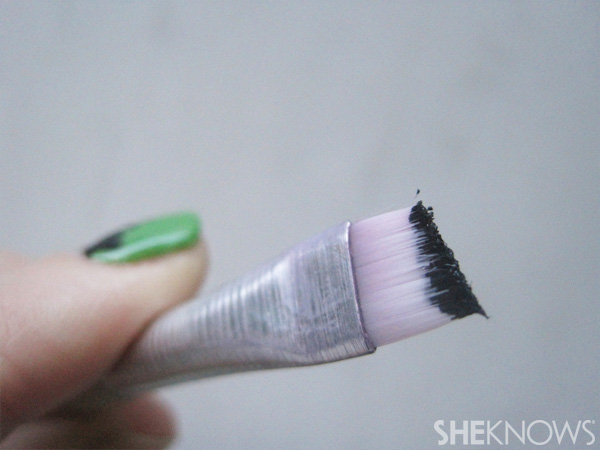
Apply a small amount of black polish to the tip of a thin paintbrush .
Step 3: Create scar
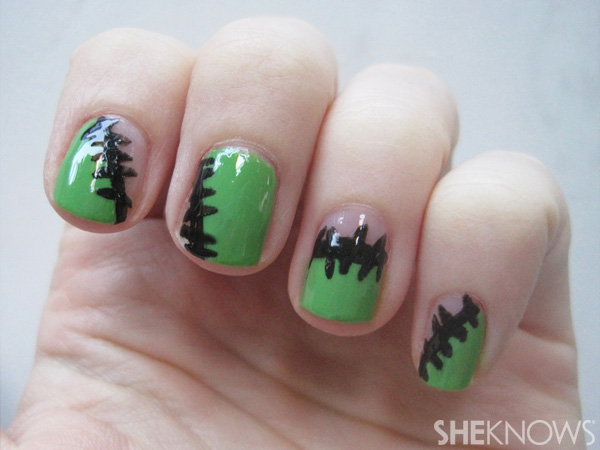
To create the Frankenstein-inspired scar, carefully draw a long line of polish along the edge of the green section of your nail. Add a few short "stitches" along the line. Don't worry about perfection here — jagged lines are just fine! Let the black polish dry completely to avoid smearing, and then apply a clear top coat to smooth any bumps and add some shine.
Mummy-wrapped nails
Step 1: Paint base
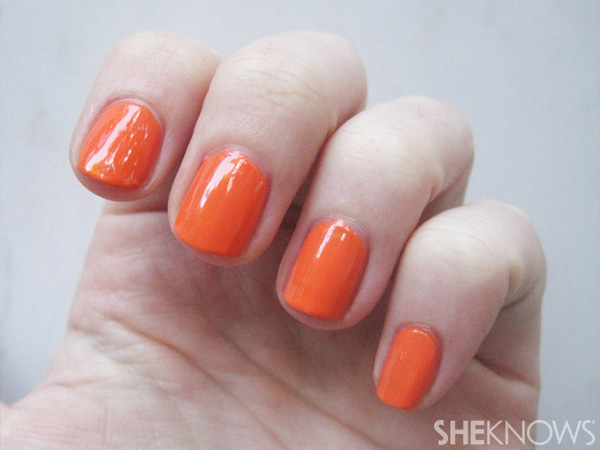
Choose a base color for your nails — either black for a more traditional "mummy" look, or play around with another festive shade.
Step 2: Cover each nail with lines

Use a white nail art brush or pen to cover each nail with thin lines, alternating directions to create a "wrapped" look. Begin by making several parallel horizontal lines, then make a few vertical lines, and so on. Continue until you've covered each nail. Don't worry if your lines aren't perfectly even — the results will still be impressive.
Step 3: Clean up edges
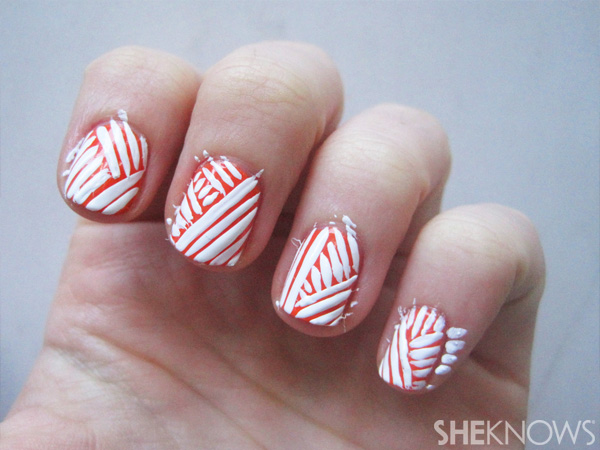
It's difficult to cover your nails in lines without spilling over onto your skin, so dip a Q-tip or a small paintbrush in nail polish remover to clean up around the edges for clean, crisp results.
Step 4: Let dry and add top coat
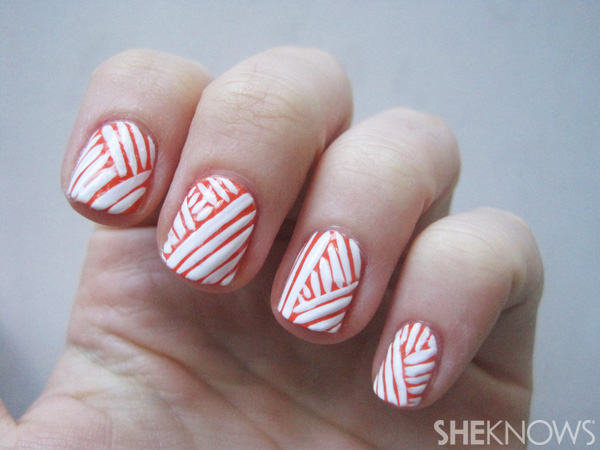
Let your nails dry completely to avoid smearing, and then add a top coat to add some shine to this intricate look.
These spook-inspired designs are sure to get you in the holiday spirit. Let your nails do the talking this Halloween — no costume required!
More Halloween ideas
How to get The Hunger Games' Capitol look
How to create zombie eyes
How to create pinup girl makeup